

You hear a crack, then a crash that shakes the whole house. When you look outside, a tree is lying across your roof. Your heart is racing, and a dozen questions arrive at once. Is anyone in danger? Who do you call first? How much will this cost? Take a breath. What you do in the first hours and days after impact has an outsized effect on your safety, your insurance claim, and the final repair bill. This guide walks through the process in order: securing the scene, documenting the damage, protecting the home from the weather, getting the tree off safely, uncovering hidden problems, deciding on the right fix, and rebuilding smartly. Follow the steps, and you will stay in control of a stressful situation.
Get Everyone Out and Shut Off Hazards Before Anything Else
Your first job is to get everyone out of harm’s way, and that means acting before you think about the damage itself. Move every person and pet out of any room beneath the impact zone. Look at the ceiling for sagging, bulging, or cracks, because these signs suggest the framing above is carrying a load it was never designed to hold. If the ceiling looks compromised, leave that part of the house and do not go back in until a professional clears it.
Next, deal with utilities. If the tree brought down a power line, assume it is live, stay at least 30 feet away, and call your utility company and 911 right away. Never touch the tree, wires, or any metal object in contact with them. Inside, turn off electricity to the affected area at the breaker panel if you can reach it safely. If you smell gas, leave immediately and call from outside. Shut off the main water valve if pipes have been damaged or water is pouring in.
Finally, resist the urge to climb up and inspect the roof. A tree can shift or slide without warning, and wet decking is slippery. Keep children and pets away from the area, and wait for trained help.
Document the Damage Thoroughly Before You Call Your Insurer
Once everyone is safe, pick up your phone and start documenting. Insurance adjusters rely on evidence, and the more thorough your records, the smoother your claim will go. Take wide shots of the entire house with the tree visible, then medium shots of the impact area, then close-ups of broken shingles, exposed rafters, and cracked siding. Record a slow video walk-through outside and inside, narrating what you see. Photograph water stains, damaged belongings, and anything else affected, and do it before you move or clean up anything.
Write down the date, the time, and the weather conditions when the tree fell. Start a simple log of every call you make, including who you spoke with, what they said, and your claim number. Keep receipts for emergency costs such as tarps, plywood, hotel stays, and meals if you cannot stay home, since many policies reimburse these expenses.
Then call your insurer. Ask what your policy covers, what your deductible is, and how the claim process works. One question is especially important: does the adjuster need to see the tree in place before it is moved? If so, ask how quickly they can come out. Many homeowners also find it helpful to line up a company that handles storm damage restoration early, because the scope of the work, from drying out interiors to rebuilding damaged areas, shapes the estimate your insurer reviews. Detailed photos and notes make that conversation faster and give you leverage if the initial estimate looks too low.
Temporary Fixes to Stop Water From Coming In

Water is the enemy after a tree strikes, and every rainy hour that passes can turn a manageable problem into a costly one. Start inside. Move furniture, rugs, and electronics away from the affected area. Set out buckets under active drips, and lay plastic sheeting or towels to protect floors. Run fans or a dehumidifier if the area is safe and the power is on. Stay out from under any bulging or sagging ceiling.
Outside, the roof needs a cover, but this is not a do-it-yourself job. A roof loaded with a tree is unstable, and a fall can be life-threatening. Experienced roofers know how to place and secure a tarp without adding weight to weakened framing. A proper tarp extends over the ridge line, is anchored to solid decking rather than fragile shingles, and is fastened with wood strips so wind cannot get underneath it. Ask the crew to photograph their work, and keep the invoice, since most insurers cover reasonable emergency measures.
Cover broken windows and other openings with plywood or heavy plastic, and photograph them before and after. It is important to understand that a tarp is temporary. It buys you a short window of protection, and it does not replace permanent roof repair. Insurers expect you to prevent further damage after a loss, and failing to do so can jeopardize part of your claim, so act quickly, keep every receipt, and do not let the tarp become a long-term solution.
Have the Tree Removed Safely, in the Right Order
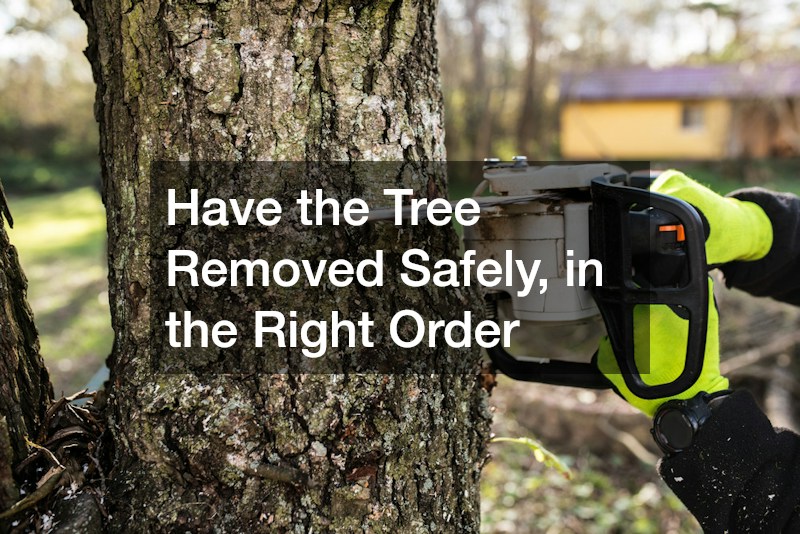
Once the site is protected and documented, the tree has to come off, and this is where many homeowners get into trouble. Never cut a tree that is resting on your house yourself. Trunks and limbs under tension can snap, roll, or spring back with tremendous force, and removing weight from one point can suddenly shift the load to another, causing further collapse. This is a job for a professional crew with the right equipment.
When vetting a company for tree removal, ask for proof of liability insurance and workers’ compensation, since an uninsured crew can leave you responsible for injuries and additional damage. Ask for references, photos of similar jobs, and whether they hold certifications from a recognized arborist organization. Get a written quote that states exactly what is included, such as cutting, hauling away the debris, and grinding the stump, because these items are often priced separately. Be cautious of anyone who knocks on your door right after a storm demanding cash upfront.
Discuss the method, too. Sections are often lifted off with a crane, which is costlier but reduces the risk of dropping heavy wood onto weakened rafters. Hand-cutting and rigging may work on smaller trees. Before any cutting begins, confirm whether your adjuster wants to see the tree first, and take photos before and after each cut.
Finally, coordinate the timing with your roofing contractors. Having them on site, or at least on call, means the roofing team can tarp the opening the moment the trunk is lifted, and they can evaluate the exposed damage right away. That coordination often saves a day or more of exposure to the weather.
Schedule a Professional Inspection to Find Hidden Damage

A tree strike often causes damage that cannot be seen from the ground. Impact can crack rafters and trusses, split the roof sheathing, puncture the underlayment, and loosen fasteners across a wide area. Wet insulation and hidden moisture can lead to mold within days. That is why a thorough inspection matters, even if the visible hole looks small.
Hire a licensed roofing inspection contractor to evaluate the entire structure, not just the spot where the tree landed. A good inspection covers the attic and framing from below, the decking, flashing, vents, gutters, and chimney, and the ceilings and walls on the floor beneath the impact. Ask for a written report with dated photos, measurements, and a description of the recommended work. Confirm the inspector is willing to meet your insurance adjuster on site, which can help resolve disagreements about the scope of damage.
Vet every company just as you would for any major project. Check the state license, insurance coverage, local reviews, and how long they have operated in your area. Ask whether they also offer roofing services such as repair and full installation, and whether the inspection fee is credited toward the work if you hire them. If your insurer’s estimate seems low, an independent report gives you documentation to support a supplemental request. Finally, once a professional confirms the structure is safe, check the attic for musty smells, dark stains, or damp insulation, and report them right away.
Decide Between Patching Over or Starting Fresh
With the inspection report in hand, you face the big question: patch the damage or start over? The answer depends on several factors, and it is worth working through them methodically rather than accepting the first recommendation.
A targeted fix usually makes sense when the damage is limited to one section, the framing is sound, the roof is relatively young, and matching materials are still available.
A full roof replacement becomes more likely when rafters or trusses are compromised, shingle damage extends across multiple slopes, the roof is near the end of its life, or several layers of old material are already stacked up. Building codes can also come into play. If repairs affect more than a certain percentage of the roof, local rules may require upgrades, such as new underlayment or ice barriers, and those costs can change the math.
Read your policy closely. Coverage based on replacement cost pays to install new materials, while actual cash value subtracts depreciation for the age of the roof, which can leave you with a large gap. Ask your agent which applies to you, and whether your policy limits roof coverage.
Whatever you decide, collect at least three written estimates with itemized scopes, so you can compare materials, labor, permits, disposal, and warranty terms line by line. Ask how each proposal handles rotted decking, since that is a common source of surprise charges. A slightly higher bid with a stronger workmanship warranty can be the better deal.
Turn Interior Repairs and Upgrades Into One Coordinated Plan

Once the roof is sealed, attention turns to the inside, where ceilings, drywall, insulation, and paint usually need work. Resist the urge to rush interior repairs before the roof is fully done and the structure is dry. Sequencing matters: roof first, then drying and moisture checks, then drywall, insulation, paint, and flooring. Doing things out of order can trap moisture and force you to redo the work.
This is also a smart time to think bigger. If the impact opened up a section of ceiling or attic, you may be able to add insulation, improve ventilation, install a skylight, or fix a layout issue at a lower cost than if you did those projects separately. Some homeowners use the insurance payout as a starting point and fold in a broader home remodeling plan, such as updating a damaged bedroom or opening up a cramped hallway. Just keep the insured repairs and optional upgrades clearly itemized so your claim stays clean.
If you hire a company offering renovation services, verify the contractor’s license, request proof of insurance, and get a written contract with a detailed scope, schedule, and payment terms. Pull permits where required, and do not pay in full before the work is done. Ask for lien waivers from the contractor and major suppliers as work is completed so you are protected if a subcontractor is not paid. Keep a shared folder of photos, invoices, and change orders. That record will help with the final insurance reconciliation and any future sale of the home.
The best recovery plan is the one you never need. Have a certified arborist examine the trees near your home once a year, and ask specifically about dead branches, leaning trunks, root problems, and limbs that hang over the roofline. Trim branches back so they stay several feet clear of the house, and keep gutters clean so water does not build up under shingles. Each year, review your homeowner’s policy for changes in deductibles or wind and hail coverage, and update a home inventory with photos of your belongings and the exterior. After a major storm, do a quick visual check from the ground for missing shingles, new cracks, or debris buildup.
Stay Calm, Stay Organized, and Keep Moving Forward
A tree crashing into your home is frightening, but it does not have to become a disaster. The sequence is straightforward: get everyone safe, document everything, cover the opening, bring in qualified people to lift the tree and evaluate hidden damage, and make repair decisions with clear estimates in hand. Keep your insurer’s number, a trusted local crew’s contact details, and a folder of important policy documents somewhere easy to find before the next storm arrives. Move steadily, ask questions, and get everything in writing. With a clear plan and the right help, your home can be stronger and more secure than it was before the tree came down.